Tag Archive: art


1.31.15 Tallahasse pix  (60 of 77)

Old and new Florida State Capitol buildings; the 22nd Floor Gallery is at the top of the new State Capitol building

 The gallery setup December, 2014, rolled around and I hadn’t heard any more information and updates from the woman in charge of the gallery. I emailed and called for two weeks. I finally received the information that she was taking care of an elderly parent and would get back to me which she did about a week later. By this time it was early January. Another woman who told me she was the newly appointed curator for the gallery then contacted me. She gave me the information that I needed about when I was going to hang the artwork and when the show was going to be taken down. She then sent a revised layout of the gallery floor plan as they had renovated the space earlier in the year. I got to work and began taking the measurements of my work and laying the information onto the floor plan drawing. Fortunately, I had printed several copies and penciled in the dimensions so I could get the arrangement of work the way I wanted it to be displayed. A few days later I was with friends at a garden art show in Miami when I received a phone call from the curator. When they had transitioned over to the new curator, one of the artists that had been previously selected to exhibit had been mistakenly told that she could have the time slot to exhibit that I had been assigned. How was she going to resolve the problem and keep everyone happy? I agreed to allowing my work to be shown in the gallery for a month and a half and then move the artwork downstairs and across the street to the lobby of the Secretary of State’s office. They would move the artwork for me and re-hang the show. Whew! I finalized my arrangements and began packing my artwork.  After I bagged and wrapped all of my paintings I loaded up my station wagon with my husband and started the seven hour drive north to Tallahassee. We decided to make a mini vacation out of it and stretched it out over two days. We were then able to catch up with a friend in Tampa and spend the evening at a favorite restaurant in Ocala. We even ate three-dozen oysters at an old Florida restaurant near Tallahassee!

1.31.15 Tallahasse pix  (40 of 77)

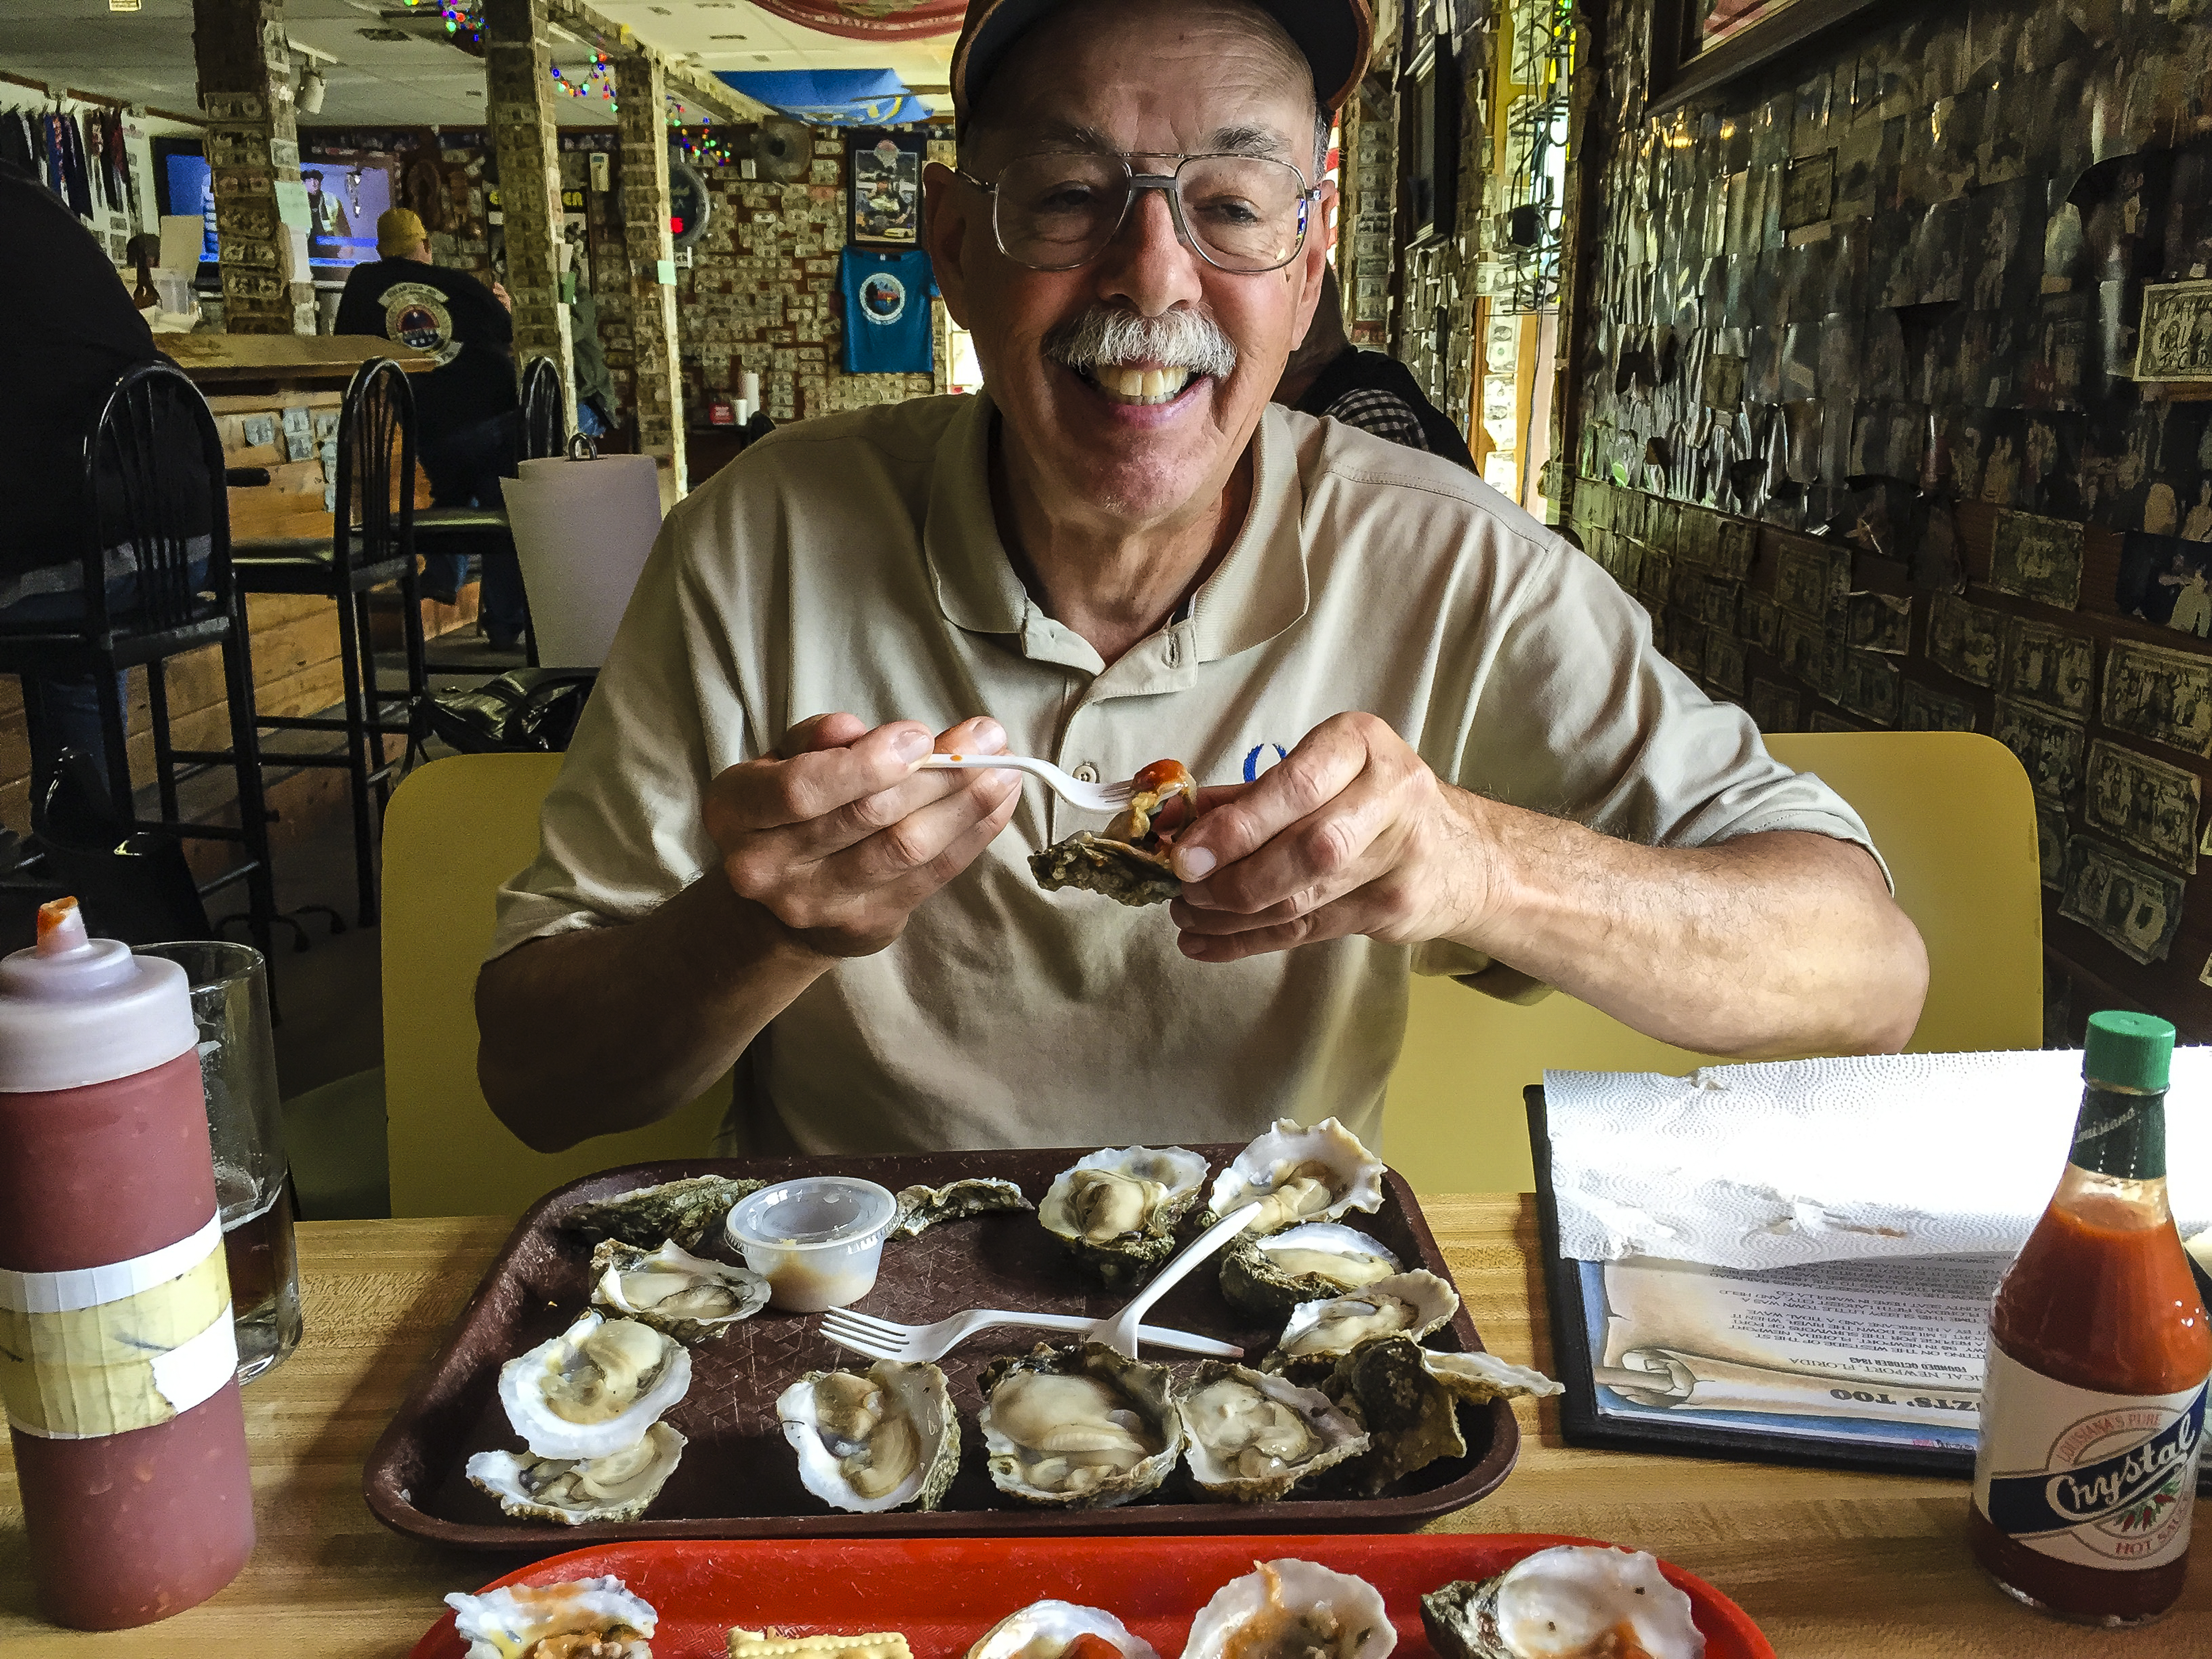
Warren enjoying his Oyster feast

Rep. Mark Pafford & Mono

Representative Mark Pafford and friends

The next day we had made arrangements to meet State Representative Mark Pafford, the House Minority Whip in his office in the Capitol. We had met him a month earlier at a chance encounter in the Everglades and I had looked him up and told him when I was going to be in the building. Meanwhile, I had to park my car on the building grounds—not an easy task. The curator met us at the guard gate and arranged our parking while we went upstairs to see him. We then drove the car into the bowels of the building after the police ran a mirror under the car and lowered the security walls to allow us to drive in. We placed all of the artwork on a rolling cart and load it onto one of the two elevators that would stop at the twenty-second floor. Then the three of us began the over four hour process of hanging the work. The woman who was supposed to assist the curator was out helping her mother—otherwise the curator was going to have to hang the twenty-five pieces of artwork herself. Thank goodness for my husband the handyman!

2.2.15 Capitol Gallery Images (21 of 23)

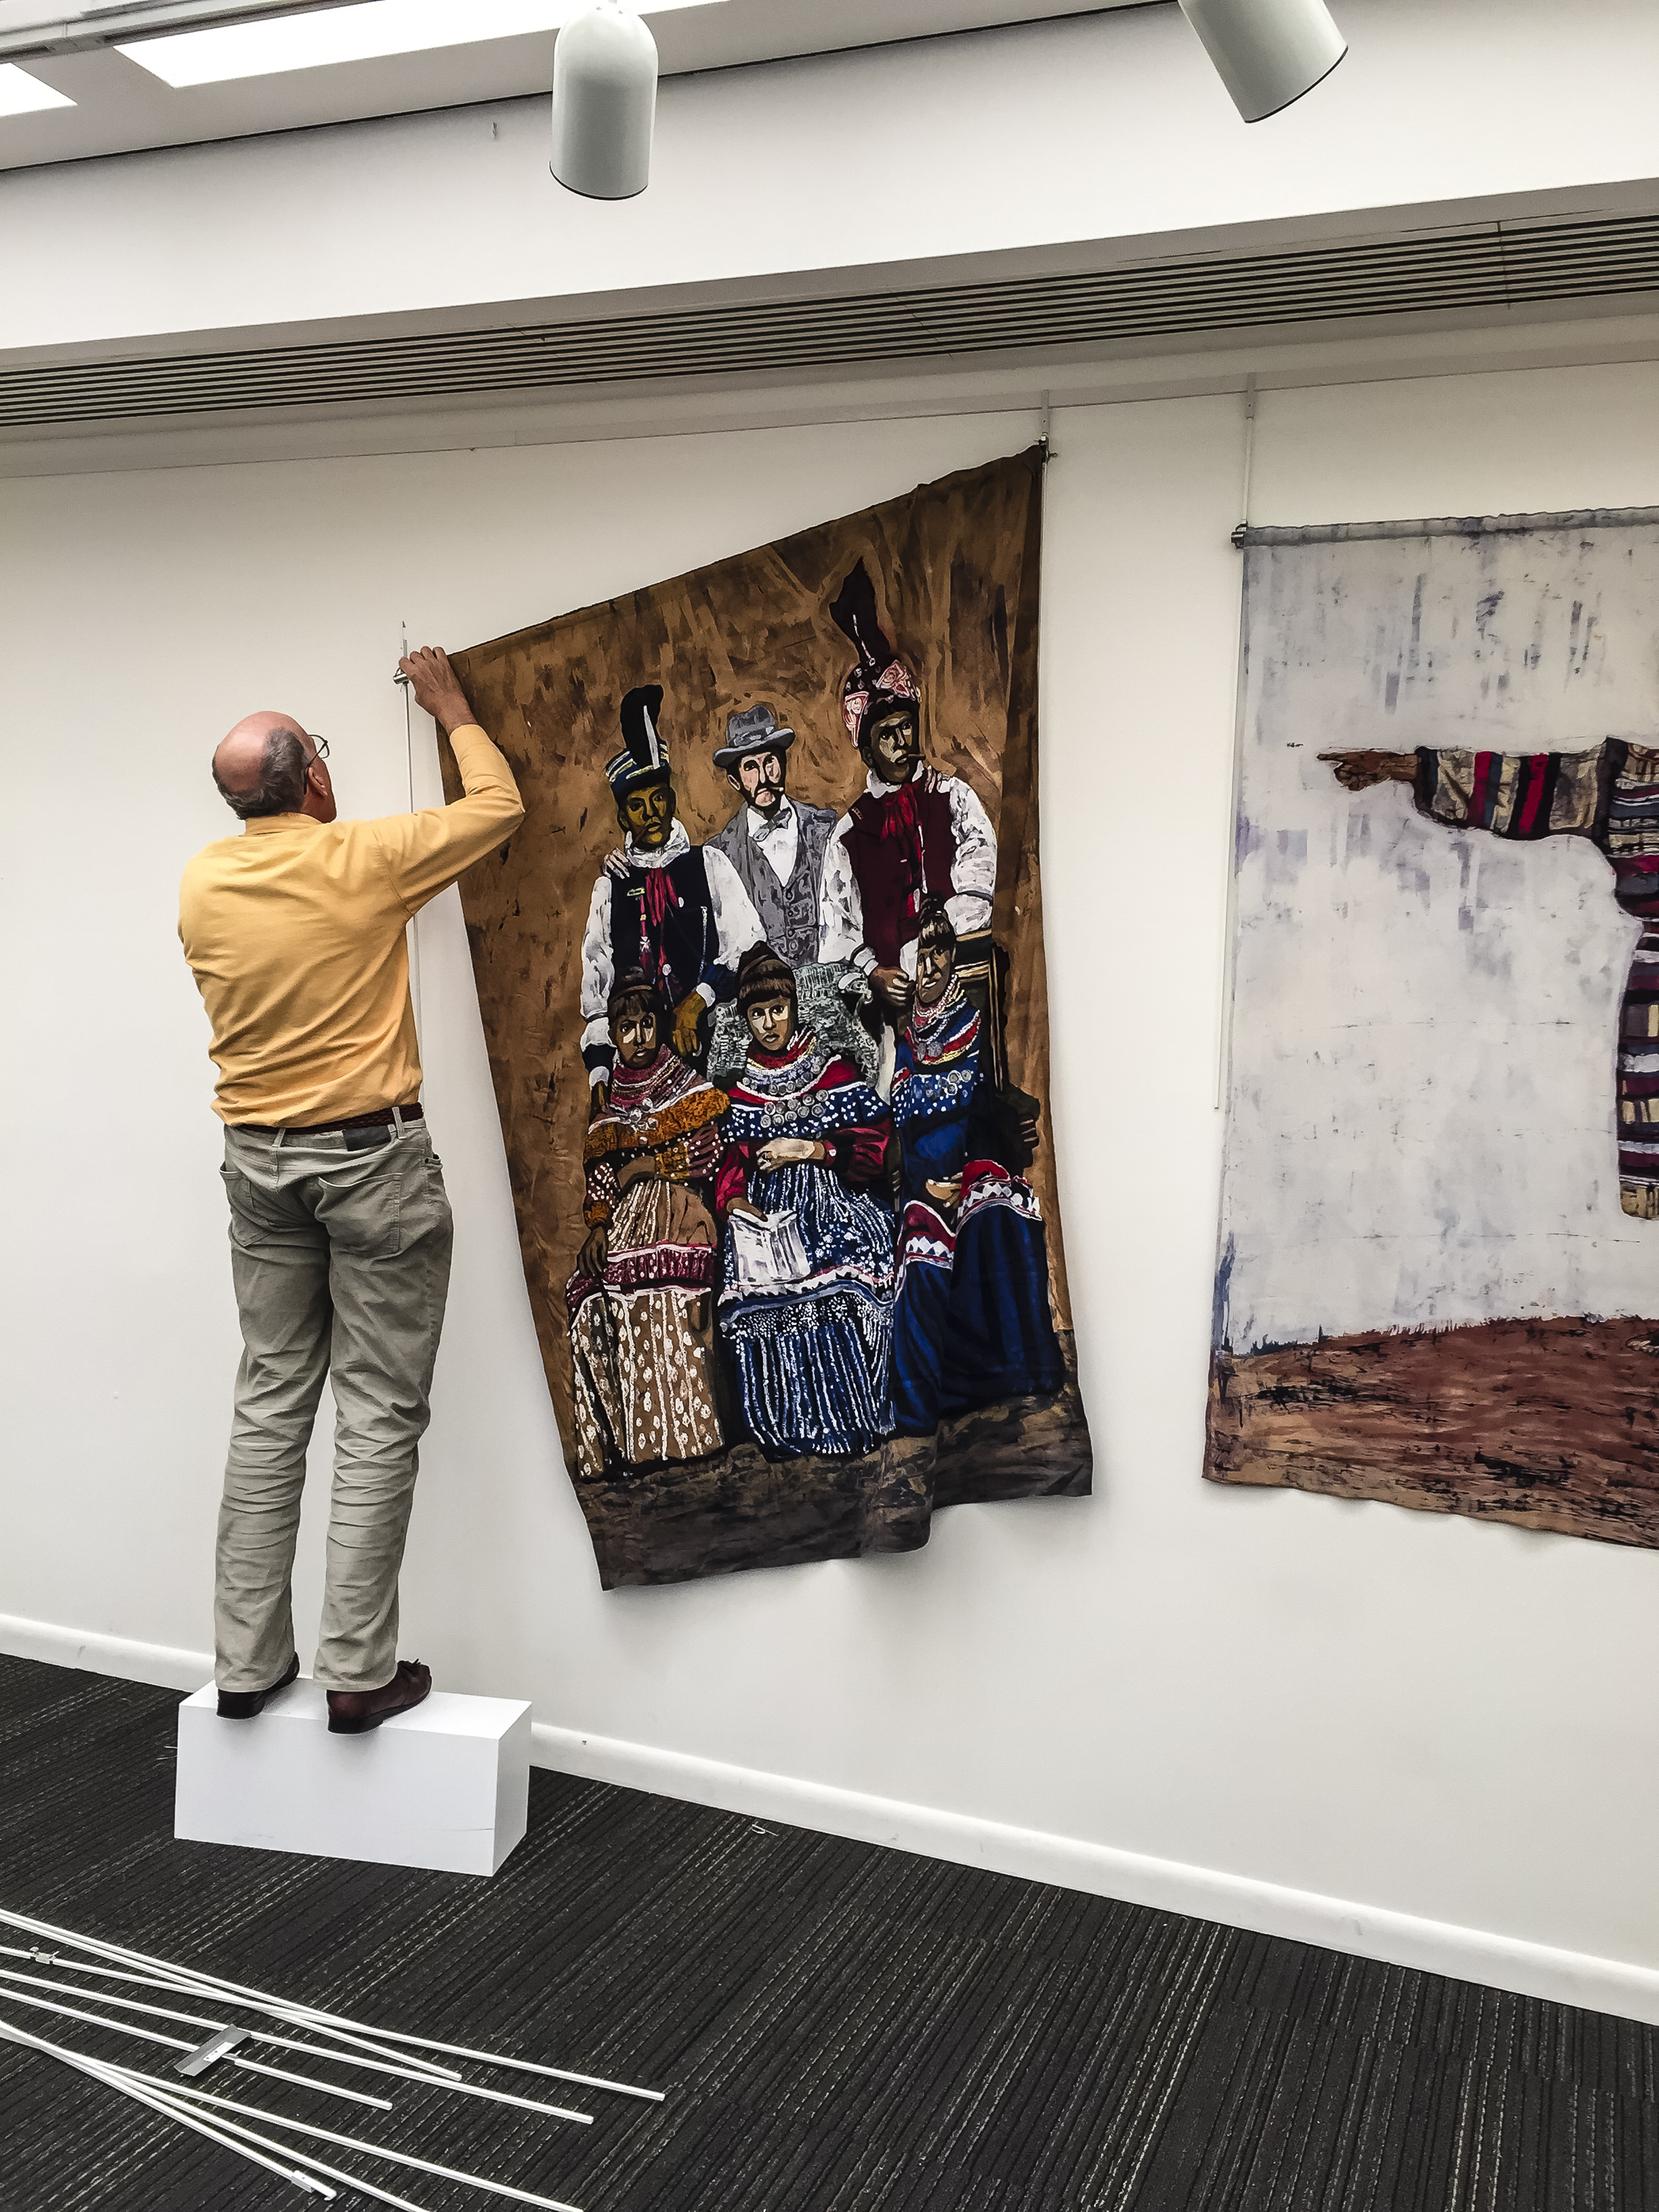
Flamingo Fixit hanging “Hava Tampa”

He speeded up the task and quickly figured out the hanging logistics for some of the larger paintings. We worked until we were told we had to leave at 5:30 pm as the building was closing. When we tried to leave we had to speak to security through an intercom box so they could raise the guard gates. We drove off and celebrated with an early dinner and returned to the hotel for the evening.

SONY DSC

Muffy Clark Gill and Representative Kathleen Passidomo

  The next morning we met our State Representative, Kathleen Passidomo and her aide, at the gallery so she could see the exhibition and we could have some publicity pictures taken. (She ran her picture in her weekly newsletter that week). I took pictures of the entire exhibition for my own records and spent a few minutes savoring the excitement and self satisfaction. I had achieved my goal!  

1. Muffy Clark Gill_Muted Swan_2014_mixed media_24x48.75 in

Muffy Clark Gill Muted Swan, mixed media, 24 x 78.5 in

I always talk about my work being a series of “happy accidents”, but sometimes those accidents can turn into near calamities. Not every painting that I create turns out exactly the way I envision it.

For example,

I recently wanted to create a painting of a swan from a photograph that I had taken at Homosassa Springs State Park. This painting I wanted to create as a Diptych (or two panel painting ) that I visualized hanging on either side of a doorway so that the eye would look at the image and visually fill in the gap between the two panels.

I went through my usual process of redrawing a line image of the photograph onto the Habitae silk that I had stretched out on my larger Moyer Design Frame. I then started waxing and dying in each layer from light to dark to start to build up my colors. I then hit a roadblock: the black dyes that I had painted on did not get as black as I had wanted-in fact they had looked rather murky and lacked crispness. I kept working on different techniques to sharpen the black color. One which I learned from my friend, Kiranada Sterling Benjamin, was to paint over the black with red, let dry and dye again. That helped clean up that problem.

I finished the painting (or so I thought) by removing the wax and steaming the colors to set them. I then attached the two pieces of fabric (since I had just divided the painting in two) using Mod Podge (a form of white glue). I then sealed it with a topcoat of Golden GAC 100 medium. BIG MISTAKE! It looked great while applying, but immediately I noticed air bubbles forming on the surface of the panels. As the gel medium dried, the bubbles got larger and the whole painting looked horrible! I called Golden Paints for advice on what to do. Their tech support person suggested that I would have to remove the painting from the panels, clean off the offending product and mount all over again. Yikes!

It took me three days to loosen the panels with sprays of water to remove them from the canvas backing. It then took almost two weeks to physically scrape off the offending product with a plastic credit card scraper until I could get it looking half decent again. In the process the colors of the painting faded significantly and the fine details of the piece were almost bleached out. I thought the painting was a goner!

The faded left panel

SONY DSC

Panels with damage

The restoration in process

In the meantime I had taken pictures of the fabric panels before I mounted them and had put together an image from those photographs. Thanks goodness that I did! I was able to have a digital reproduction made of that image so that it matched how I had wanted the original painting. I then went back and embellished the two canvas panels with different painting techniques and additions to create a second painting. For a while, I thought that would become the final version of the painting.

SONY DSC

 Muffy Clark Gill, Swan Lake, 2014,mixed media, 24 x 78.5 in

I put the original painting aside while I tried to figure out where to go from there. I then decided to try fixing it again. This time I adhered the silk on the wrong side of the painting, as it had faded less, and adhered it to gray eco-felt as a backing. I then stretched the eco-felt over the canvas supports and remounted the pieces.

How was I going to save the image that remained? I went back to my arsenal of fabric marker pens and carefully redrew the outlines of every detail in the painting. This process took me almost another two weeks of work until I was satisfied with the result. I also had to use some fabric paint to even the level of color on both sections of the swan’s body so that the two panels would match. I finally had a painting that I felt was worthy of all of the time and labor I had put into it.

It goes to show that you can learn from your mistakes….I just don’t want to ever have that happen to me again!

Dying Steps, part 2

Dying # 4

Dying # 4, adding more color

After these first two rounds of dying and painting are completed, I go on and add more color, working from light to dark, trying to bring out as many details as I can. the painting begins to take shape

Version three of the dying process